Creating high-quality video content doesn’t have to break the bank. With a little creativity and resourcefulness, you can build your own DIY video equipment that meets your needs without the hefty price tag. This guide explores various DIY video equipment options, including essential tools and techniques to enhance your video production capabilities.
1. DIY Light Stand
Lighting is crucial for video quality, and a sturdy light stand is essential for positioning your lights effectively.
Materials Needed: PVC pipes, connectors, and a light fixture.
Instructions: Cut the PVC pipes to the desired height and connect them using the fittings. Attach your light fixture to the top, and you have a portable, collapsible light stand for around $10.
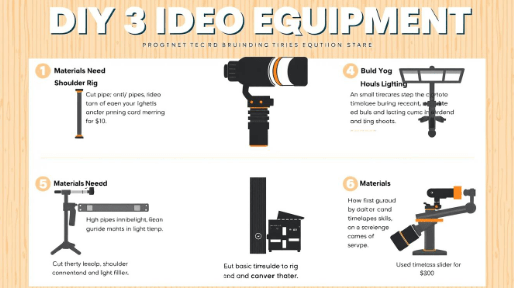
2. DIY Shoulder Rig
A shoulder rig stabilizes your camera, making it easier to shoot smooth footage, especially during longer takes.
Materials Needed: PVC pipes, foam padding, and a camera mount.
Instructions: Construct a frame using PVC pipes that fits comfortably against your shoulder. Add foam padding for comfort and attach a camera mount for your DSLR. This rig can help reduce camera shake and improve your shooting experience.
3. DIY Bank Lighting
Creating your own bank lights can provide even, soft lighting for your shoots.
Materials Needed: Shop lights, light bulbs, and mounting brackets.
Instructions: Install the shop lights in a row and mount them on a C-stand or similar support. Use daylight-balanced bulbs to achieve a natural look. This setup is effective for interviews and product shots.
4. DIY Timelapse Slider
For dynamic timelapse shots, a slider can add motion to your footage.
Materials Needed: A small linear rail, a motor, and a camera mount.
Instructions: Assemble the linear rail and attach the motor to create movement. This project may require some basic soldering skills, but it can be built for around $20, offering a budget-friendly option for capturing smooth timelapse sequences.
5. DIY 3-Axis Gimbal
A gimbal stabilizes your camera on three axes, allowing for smooth, cinematic shots.
Materials Needed: A basic shoulder rig and a gimbal kit.
Instructions: Combine a cheap shoulder rig with a gimbal to create a functional stabilizer. This project can be more expensive (around $300), but it’s significantly cheaper than purchasing a professional gimbal.
6. Audio Equipment
Good audio quality is just as important as video quality. You can create DIY audio solutions to enhance your sound capture.
DIY Microphone Boom: Use a long pole or a broomstick to create a boom for your shotgun microphone. This allows you to position the mic closer to your subject without being in the frame.
Soundproofing: Use blankets or foam panels to dampen sound reflections in your recording space. This can help improve audio clarity and reduce background noise.
7. Recording Studio Setup
Creating a home recording studio is essential for video production, especially for online courses or content creation.
Space: Choose a quiet room with minimal background noise. Aim for a space that can accommodate your lighting, camera, and audio setup.
Equipment: Start with a good quality smartphone or DSLR camera. Pair it with a shotgun microphone for clear audio. A simple studio lighting kit can enhance your video quality significantly.
8. Editing Software
Post-production is where your footage comes together. Consider using affordable or free editing software:
DaVinci Resolve: A powerful free editing tool with advanced color grading features.
HitFilm Express: Another free option that offers a range of editing and visual effects tools.
Lightworks: A professional-grade editing software available in a free version with limited export options.
Conclusion
Building your own DIY video equipment can save you money while enhancing your video production capabilities. From light stands and shoulder rigs to audio solutions and editing software, there are numerous ways to create effective setups tailored to your needs. By utilizing these DIY techniques, you can produce high-quality video content without the need for expensive gear, allowing your creativity to shine through.
